Cluster build log: Moving to temporary cluster
As promised in the last month’s community update Housekeeping section, this is the first part of the cluster’s build log! This mini-series in which I will cover everything about upcoming changes our hosting cluster, and it begins with building a temporary cluster.
Why build a temporary cluster?
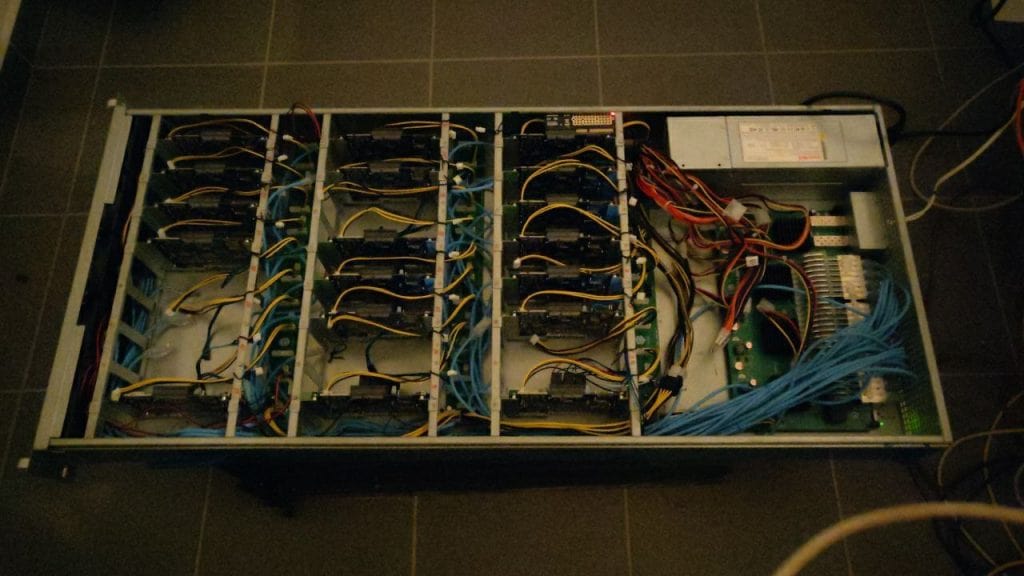
One of the latest photo of cluster
Let’s start from beginning. When we built the current hosting cluster a year ago, it was made in quite a hurry (some of the services needed to be migrated to the cluster on a moment’s notice). Also, it was the first time I (gamiee) and Matthew (fire219) were tasked with building a cluster. Because of this, some of the cluster’s features are missing and various things don’t work quite as well as we have hoped. For example, the cluster has power management boards (PCB on right side of every row), which are used primary for power distribution to the SBCs, but also it also has a I2C GPIO Expander for rebooting and turning off the SBCs. The I2C Expansion isn’t in use yet, because the primary node wasn’t able to detect it, so this is something that needs to be checked out when the cluster is turned off. And this is exactly the main reason why we are building a temporary cluster. We need to do some changes which require us to have the whole cluster turned off and on a workbench (not in housing room where isn’t much space), and this means that it will be inaccessible for several days. Obviously a long downtime wouldn’t be good when 100% of PINE64 community services are running on it. So we are going to build a temporary small cluster, which will have the minimal number of required nodes to have all services running, so we can make all upgrades with precision and at our own pace.
What do we need to make a custom cluster?
There are two things each node needs: a power supply and access to the network. Access to the network can be solved by using a classic Ethernet switch, but powering multiple RockPros, which are actually pretty power hungry, is a bit problematic if we don’t want to have multiple power adapters. One of the solutions is to design a very simple power distribution board.
When designing a power distribution board, we first need to calculate how much power the the whole cluster will require. According PINE64 Wiki - RockPro64 Page - Part Board Information, Schematics and Certifications, one node will need +12V and 3 - 5 Amps, supplied from 5.5mm/2.1 Barrel jack, or via JST XH connector, which is primary used for powering an external hard drive. I chose to use barrel jacks; 3 - 5 Amps is quite a lot, and that’s because it contains the current required for external PCIe device such as 3.5" HDD. Various benchmarks show that the typical power consumption of each board is around 7 Watts. Our temporary cluster will have 7 nodes, so we need a power supply that can supply 12V and approx. 5 Amps. Power supplies which can fulfill these requirements include those used for laptops, classical PC power supplies (ATX) and enclosed power supplies.
I chose to use a classic ATX power supply since they are cheap and really easy to source. When sourcing a PC power supplies one needs to be certain that it can actually supply the required current. Some power supplies have two +12V rails, 12V2 which powers the CPU and 12V1 which powers everything else. Since we will use the main ATX power connector, this one uses 12V1 rail, so we need to determine if this rail can supply the voltage we need (most of those vendors don’t specify the currents for both rails, it mostly show sum of both rails for 12V). But if we will use a power supply that has a single 12V rail for everything (like I do), then finding the current for 12V is easy. Having sorted out the power supply, we can start designing the board.
As I mentioned before, we are going to use main ATX Power connector, which is a 20-pin or 24-pin Molex. We will use 24-pin one, since it contains additional +12 V pin. We can find this connector as Molex 39-28-1243. The pinout is here:
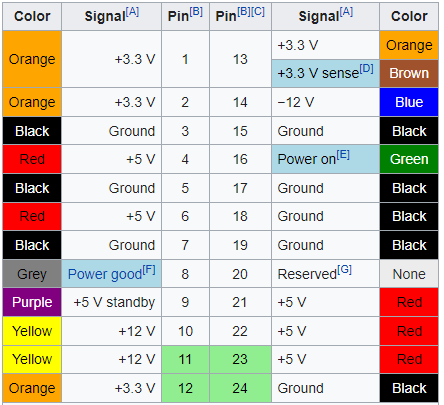
(Source: Wikipedia)
From this connector we will just need +12V, Ground and Power On pin. The Power On pin needs to be connected to ground by the “motherboard” to turn on the power supply. I added a 2-pin jumper header for this, so I can turn it on / off using the jumper. The last thing we need is power output for the nodes. There are several ways of doing this: we can use USB female connectors (with USB to Barrel Jack cable), barrel jack female connector (with barrel jack-to-barrel jack cable) and screw-on terminals or just holes, where you can screw / solder the wires going out from barrel jack cable. I chosen to use just the holes. Doing so I had to be careful about the size and distance between them. Since I picked a very accurate size and distance, it proved a bit problematic to solder cables into it (I will use screw terminals next time). Basically, that’s all! It’s nothing fancy, but it will do the job for the time being while the hosting cluster is in maintenance.
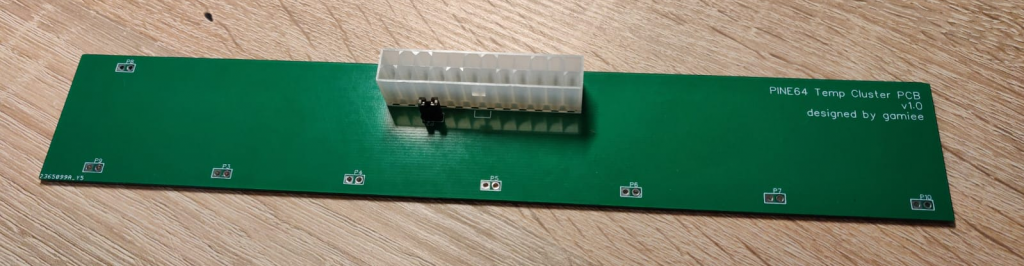
You can find the schematics and board on OSHWLab
Layout of temporary cluster
I was thinking about various layouts that can be used for this temporary cluster. I can place every node on the side, but that will be kind of big. I can also place the nodes vertically, but that would be harder to mount, or I could just stack the boards and use distance field, as Electr0Lyte did with his cluster:
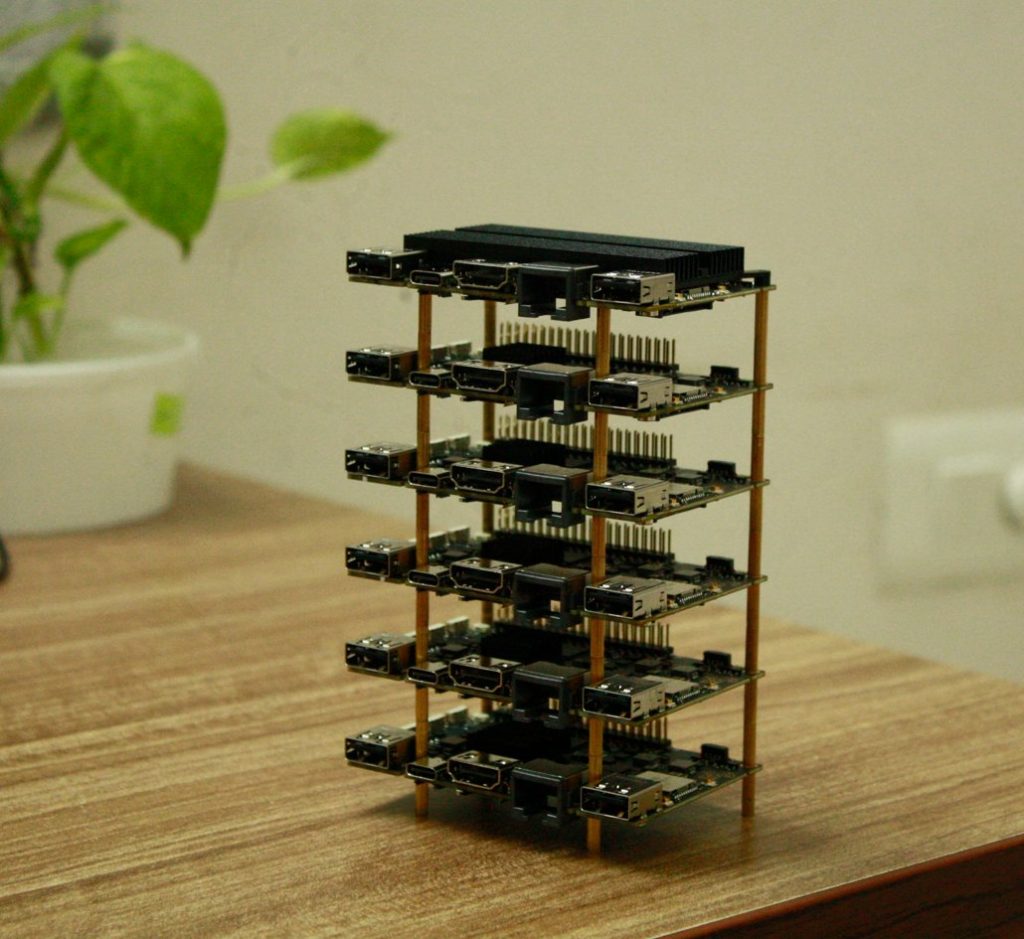
(Source: Electr0Lyte’s Twitter)
This inspired me and I decided to use the classic layout, which most of those small clusters use. I designed the power board so that it will be mounted vertically together with a switch. I 3D printed the holders for the switch and power board, mounted it into the plexiglass and here we go we made our own temporary cluster!
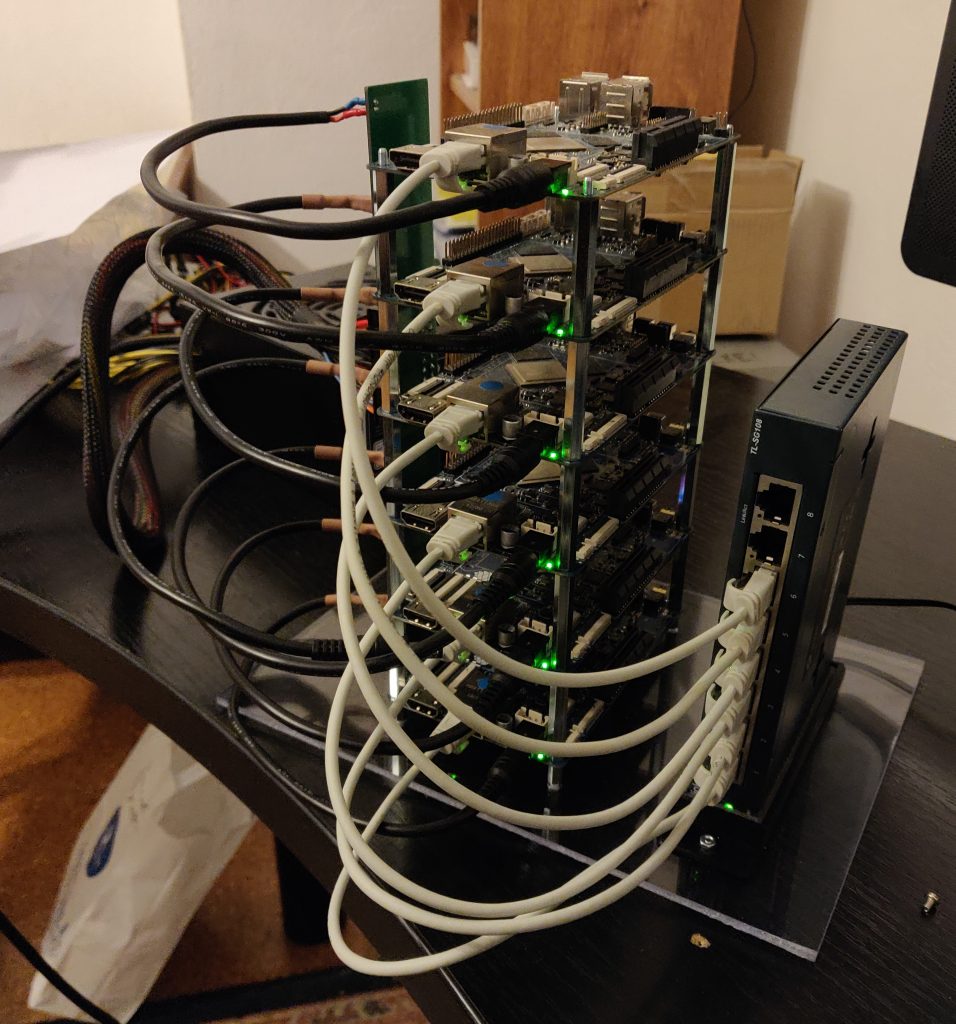
Testing temporary cluster with 6 nodes
This temporary cluster will be launched on September 2, 2021 from 8:00 AM to 11:00 AM UTC, If everything goes well. After the launch, the large hosting cluster will be moved to my place so I can do all the upgrades - something that couldn’t be made on-site.
This is all for this first update log, please let me know if you liked the extensive description of the process, or if it should be shorter. Also I want to say thanks to Lukasz, Matthew, PizzaMartijn, Maya.b and Electr0Lyte for all their help. See you in next update log!
Estimated reading time: 6 minutes (1140 words)
Related posts:
- ROCKPro64 Cluster Move June 5-10
- DevZone rollout
- July update: community developers portal
- We are KDE patrons
- It's Time: InfiniTime 1.0