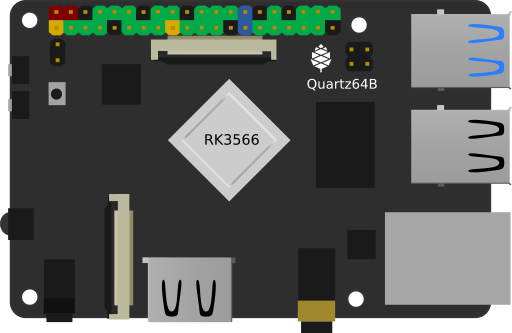
Quartz64 Model B
The Quartz64 Model B is powered by a Rockchip RK3566 quad-core ARM Cortex A55 64-Bit Processor with a Mali G-52 GPU.View the details
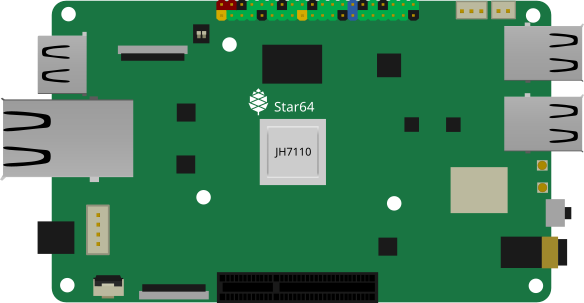
Star64 featuring RISC-V
The Star64 is PINE64's first RISC-V SBC. It comes with a StarFive JH7110 64bit CPU sporting quad SiFive FU740 cores clocked at 1.5GHz.View the details
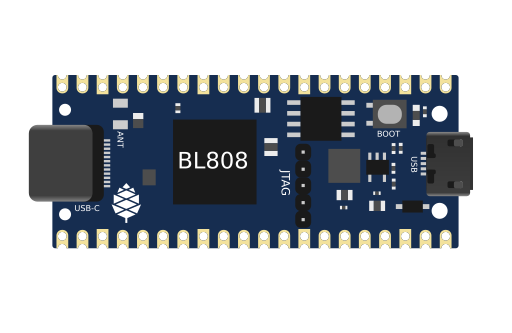
Ox64
The Ox64 is a RISC-V based Single Board Computer powered by Bouffalo Lab BL808 C906 64-Bit RISC-V CPU. It offers Wi-Fi, Bluetooth and ZigBee connectivity.View the details

Pinecil
The Pinecil is a smart mini portable soldering iron with a 32-bit RISC-V SoC featuring a sleek design, auto standby and it heats up to an operating temperature in just 6 seconds!View the details
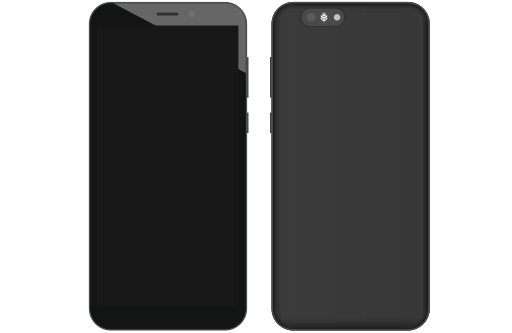
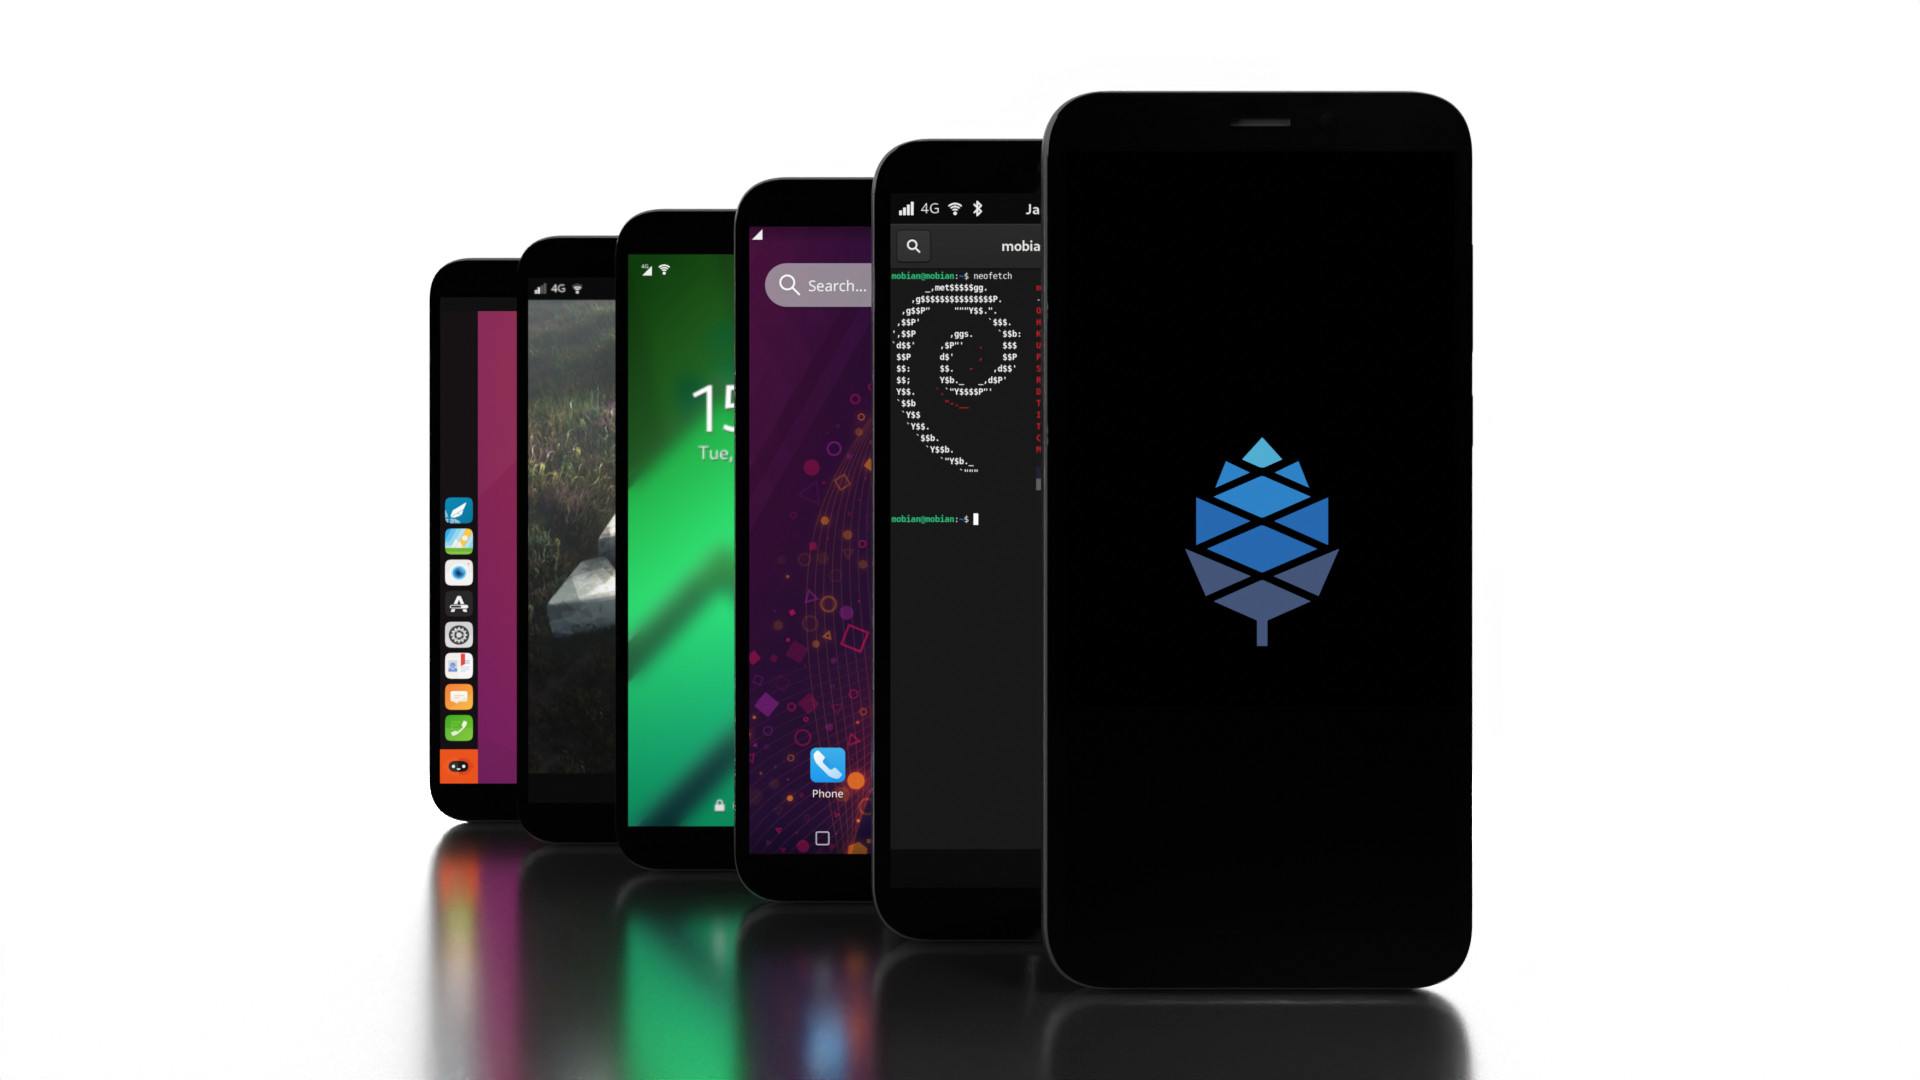
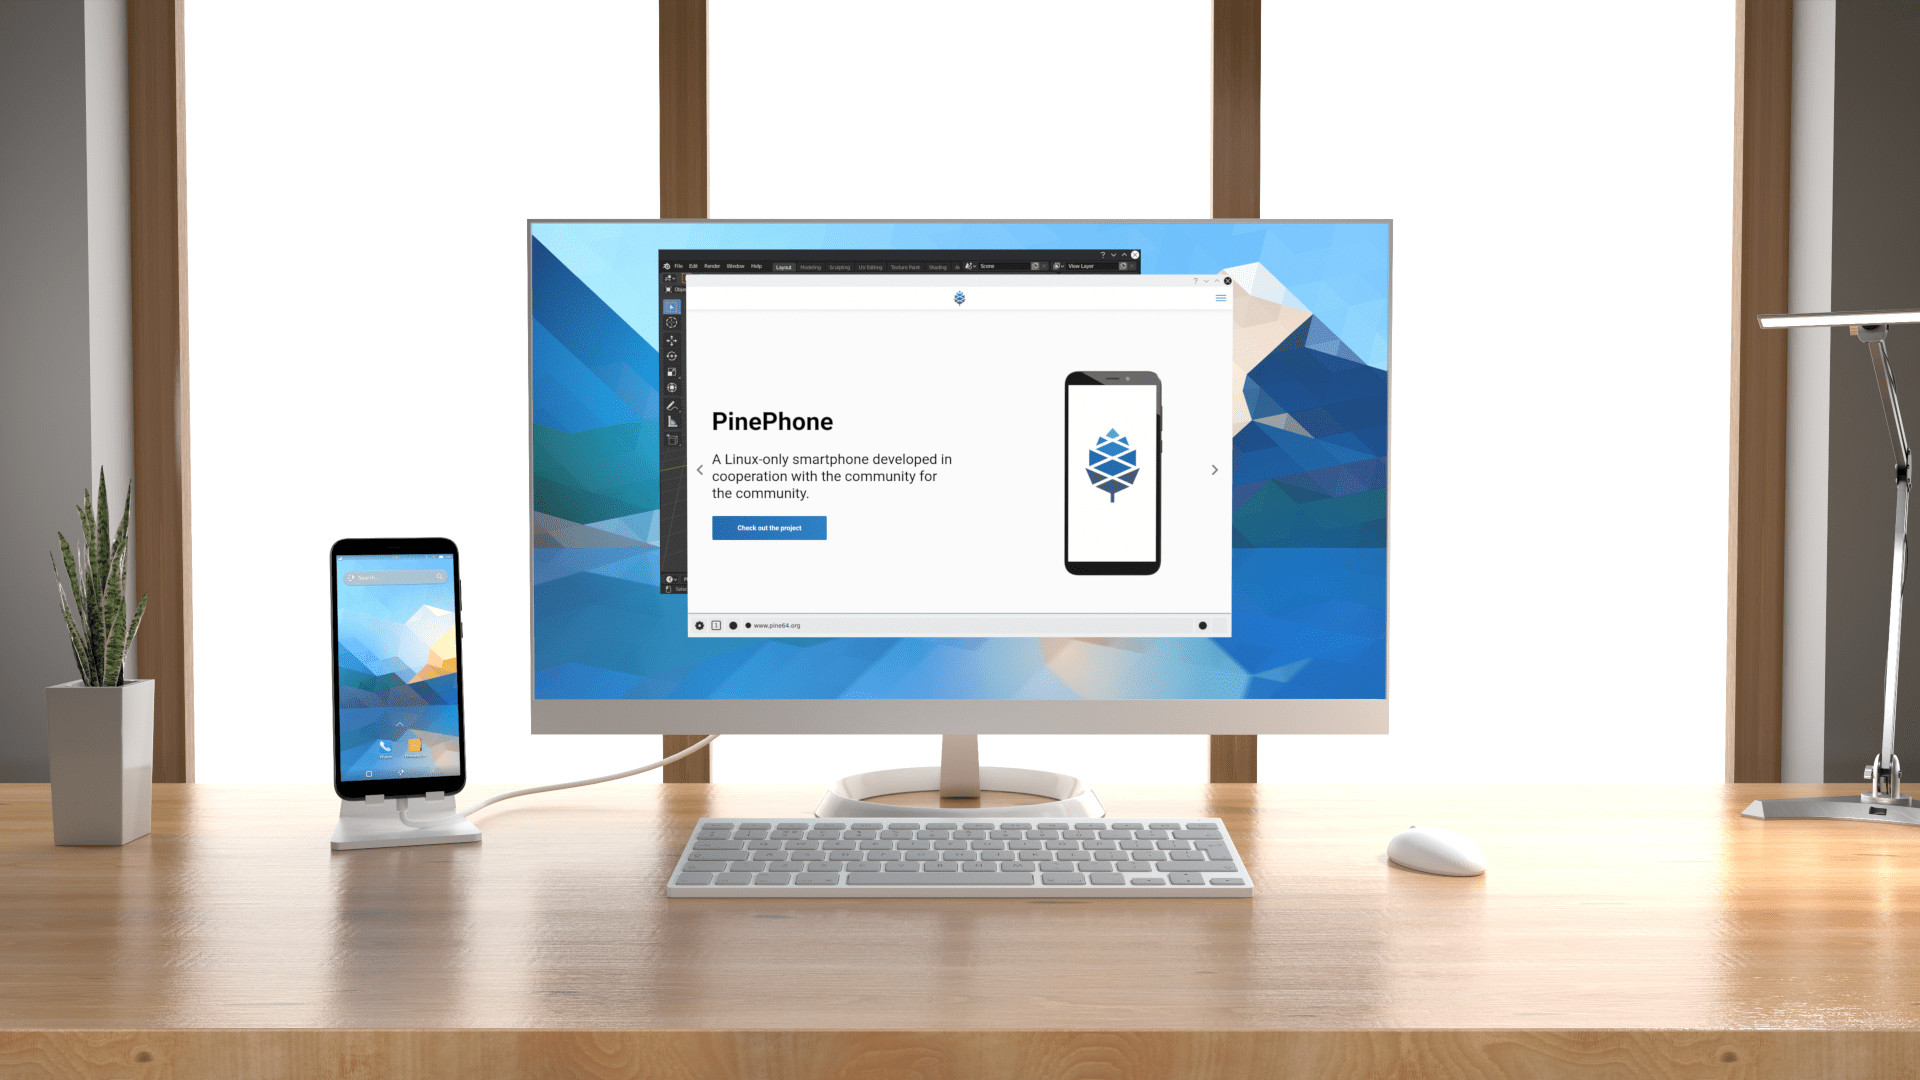
PinePhone and PinePhone Pro
The PinePhone and PinePhone Pro are the two mainline Linux smartphones from PINE64.View the details
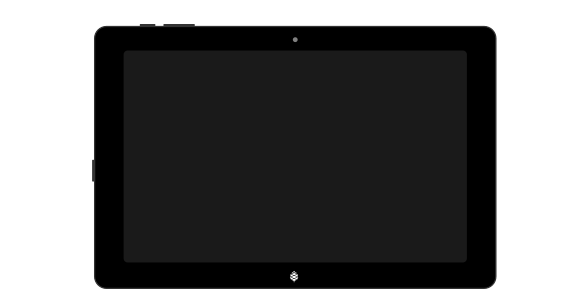
Various PineTabs
The PineTab, PineTab2 and PineTab-V are the Linux tablet computers from PINE64 featuring a detachable keyboard.View the details
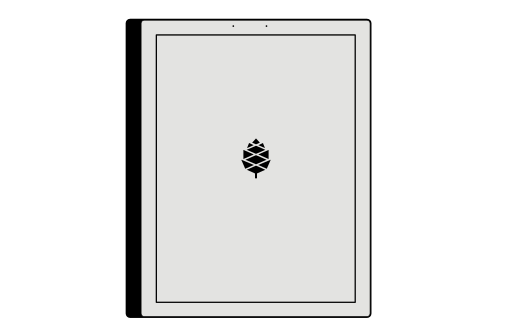
PineNote
The PineNote is the first hybrid notepad computer device combination of notebook, tablet and e-reader using an e-ink panel.View the details
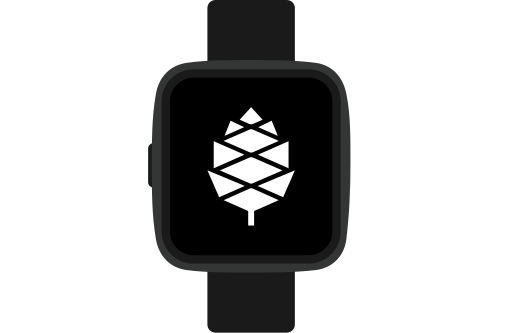
PineTime
The PineTime is a free and open source smartwatch capable of running custom-built open operating systems.View the details
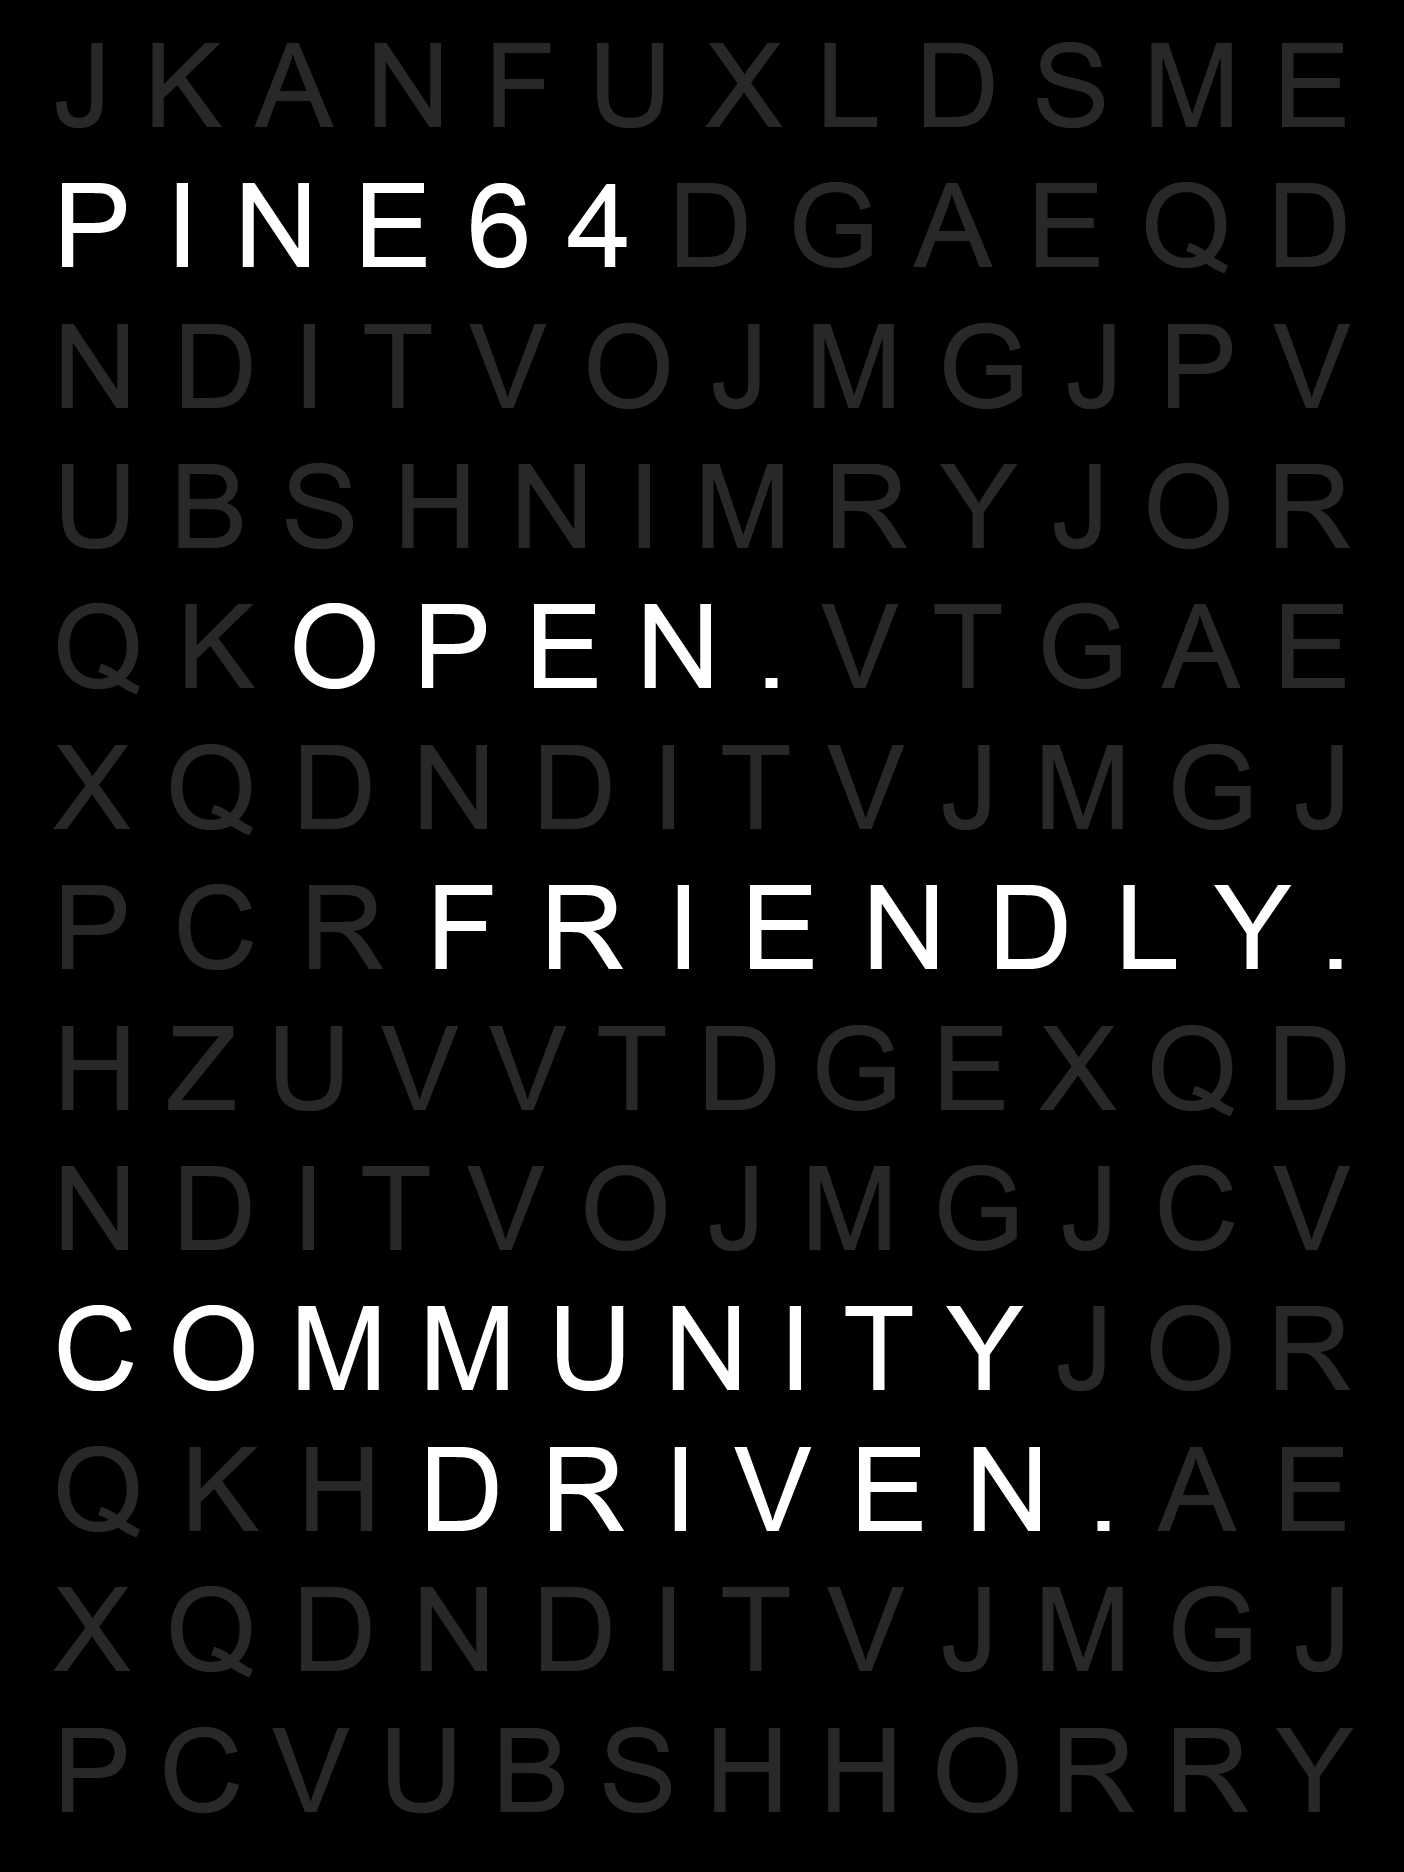
The PINE64 community
Our goal is to push the envelope and deliver ARM and RISC-V devices that you want to use and develop for. To this end, we actively work with the development community and champion end-user initiatives. Rather than applying business to a FOSS setting, we allow FOSS principles to guide our business.
We are available on Discord, IRC, Matrix and Telegram, in the Forum and on Reddit.
News
Together we are shaping the future
Our goal is to push the envelope and deliver Arm and RISC-V devices that you want to use and develop for.
To achieve this, we actively work with the development community and champion end-user initiatives. Rather than applying business to a FOSS setting, we allow FOSS principles to guide our business.

Innovation meets collaboration
The PINE64 community is large, vibrant and diverse. Independent and partner-project developers, hackers and hardware enthusiasts, privacy advocates and FOSS geeks - you name it, we’ve got ’em all.
They all contribute to the project thereby shaping it and determining its course. This page is community run, as is the Wiki, the chats as well as the forums.
Unleash your creativity with the community